 Welcome to the most fun website in the world!
|
BlogBelow are the last blogs of this player. You can also post comments or subscribe.
|
| ❄ Last Minute Christmas DIYS ❄ |
 Stil have no idea what to get for your friends/family this Christmas? Well, fear no more! In this article, you will find several small Christmas gift DIYS! ❄❄❄ ❄ DIY Cosy Hand Warmers ❄ 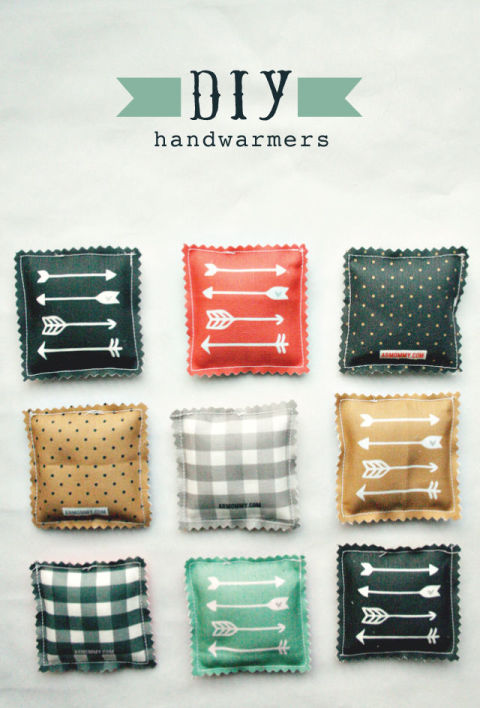 Help keep friends and family members warm this Christmas, by giving them these cute hand warmers! What you will need: - Rice - Fabric - Fabric scissors - Pinking shears - Sewing machine (you can also hand sew this) - Thread - Pins - Rice - Lavender (optional) Step 1. Gather your materials. Step 2. Start by using your fabric scissors to cut 2-3/4 inch squares from your choice of fabric. 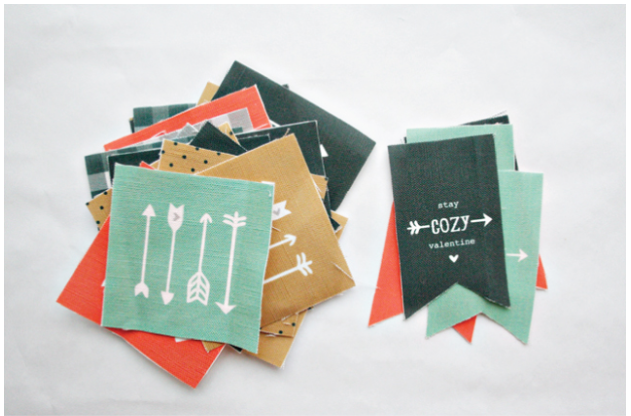 Step 3. Place the two pieces of fabric wrong sides together and stitch a 1/4 seam around leaving a 1-1/2 inch gap. Step 4. Once you reach 1-1/2 inches left backstitch the beginning and end. 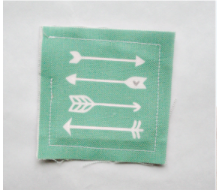 Step 5. Fill 3/4 of the way with rice. 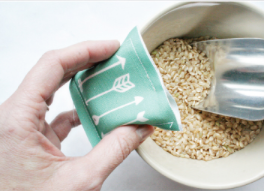 Step 6. Add a dash of lavender to make your hand warmers smell great (OPTIONAL). Step 7. Using a pin, pin the hole closed and sew it up. 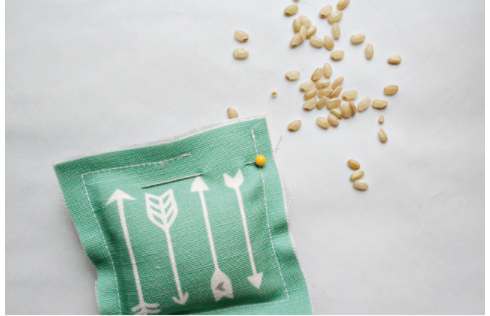 Step 8. Using the pinking shears cut the edges to stop fraying. 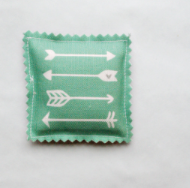 Step 9. To warm it up put it in the microwave for 20 seconds allowing it to cool down before handing it to the person. ❄❄❄ ❄ DIY Christmas Gift Topper ❄  These toppers, although, aren't Christmas gifts, they are a great addition to your wrapping! What you will need: - Honeycomb paper - Pencil - Paper straws - String/yarn - Hot glue and a hot glue gun - Buttons - A silver paint pen Honeycomb Ornaments: --- Step 1. Cut 1 1/2 to 2 2 1/2 circles from the honeycomb paper. Step 2. Hot-glue one side of the folded half circle to the package. Unfold and glue the other side. Step 3. Use a silver paint pen to draw a little string for the ornament. Paper Straw Christmas Tree --- Step 1. Use a pencil to draw a triangle onto the package. Step 2. Cut two 1 inch pieces to adhere to the bottom of the triangle to form the trunk. Step 3. Using the paper straws cut them into different sizes fitting horizontally onto the triangle don't forget to hot glue it down. Step 4. Using a piece of string weave through the tree using hot glue to attach it to place. Step 5. Using buttons cover up the hot glue left behind. Yarn Pom-pom: --- Step 1. Twirl yarn around your four fingers 50 times. Step 2. Cut excess yarn off and pull your fingers, making sure it doesn't unravel. Step 3. Cinch and middle of the yarn. Step 4. Using scissors to cut loops and floof with fingers. Step 5. Using the same colored yarn wrap around the package and tie to the pom-pom. ❄ DIY Animal Tote Craft ❄  These easy cute tote bags are the perfect gift for your family members and friends. What you will need: - A plain tote bag - Fabric - Iron-on adhesive - Scissors - Printer (you will need to print something) Step 1. Print an animal template of your choice and cut it out. Squirrel Template Deer Step 2. Pick a mix of your favorite fabrics and your template pieces and trace and cut. Step 3. Next, trace the pieces onto your adhesive and cut it out as well, cutting it so the adhesive is slightly smaller than the lines. Step 4. Remove the adhesive's backing. Working pattern side up center the animal's fabric body onto the bag and iron in place. 6. Sew buttons onto the area where the squirrel's eyes should be placed. ❄ DIY Jewelry Magnets ❄  Instead of letting these pins go to waste, why not turn them into cute magnets? What you will need: - Old pins or brooches - Needle-nose pliers - Super strong magnets - Gorilla glue Step 1. Using the needle-nose pliers remove the pin hardware from the brooches and or pins. Step 2. Then using a small dot of gorilla glue attach super strong magnets. Don't Feel Like These DIYS are right for you? Head over to the videos linked below for more DIYS! |